Jesu, it seems to have been the better part of six months since I last posted on this topic, and we've only got another four until Marathon 2015! Better get busy.
The leather I selected is a smoked German-tanned buckskin from Crazy Crow Trading Post in the
14 to 16 square foot size. To recap: It appears that most leathers prior to the Hellenistic period were not vegetable-tanned but cured with fats in a process similar to brain-tanning. The German tanning process is the cheapest widely-available example of such leather, and although it, unlike braintan, doesn't require smoking to preserve its integrity (due to the cod liver oil producing its own aldehydes), I believe smoked hide is preferable in the absence of evidence about what kinds of fats might have been used in Achaemenid times, plus the smoke masks the fish odor somewhat.
The 14 to 16-foot size gives plenty of hide for bowcase, cover and arrow pocket, plus some scraps for messing around with (I hope to use one as a hand wrap now that I'm learning how to shoot to the left of the bow staff, which is more painful).
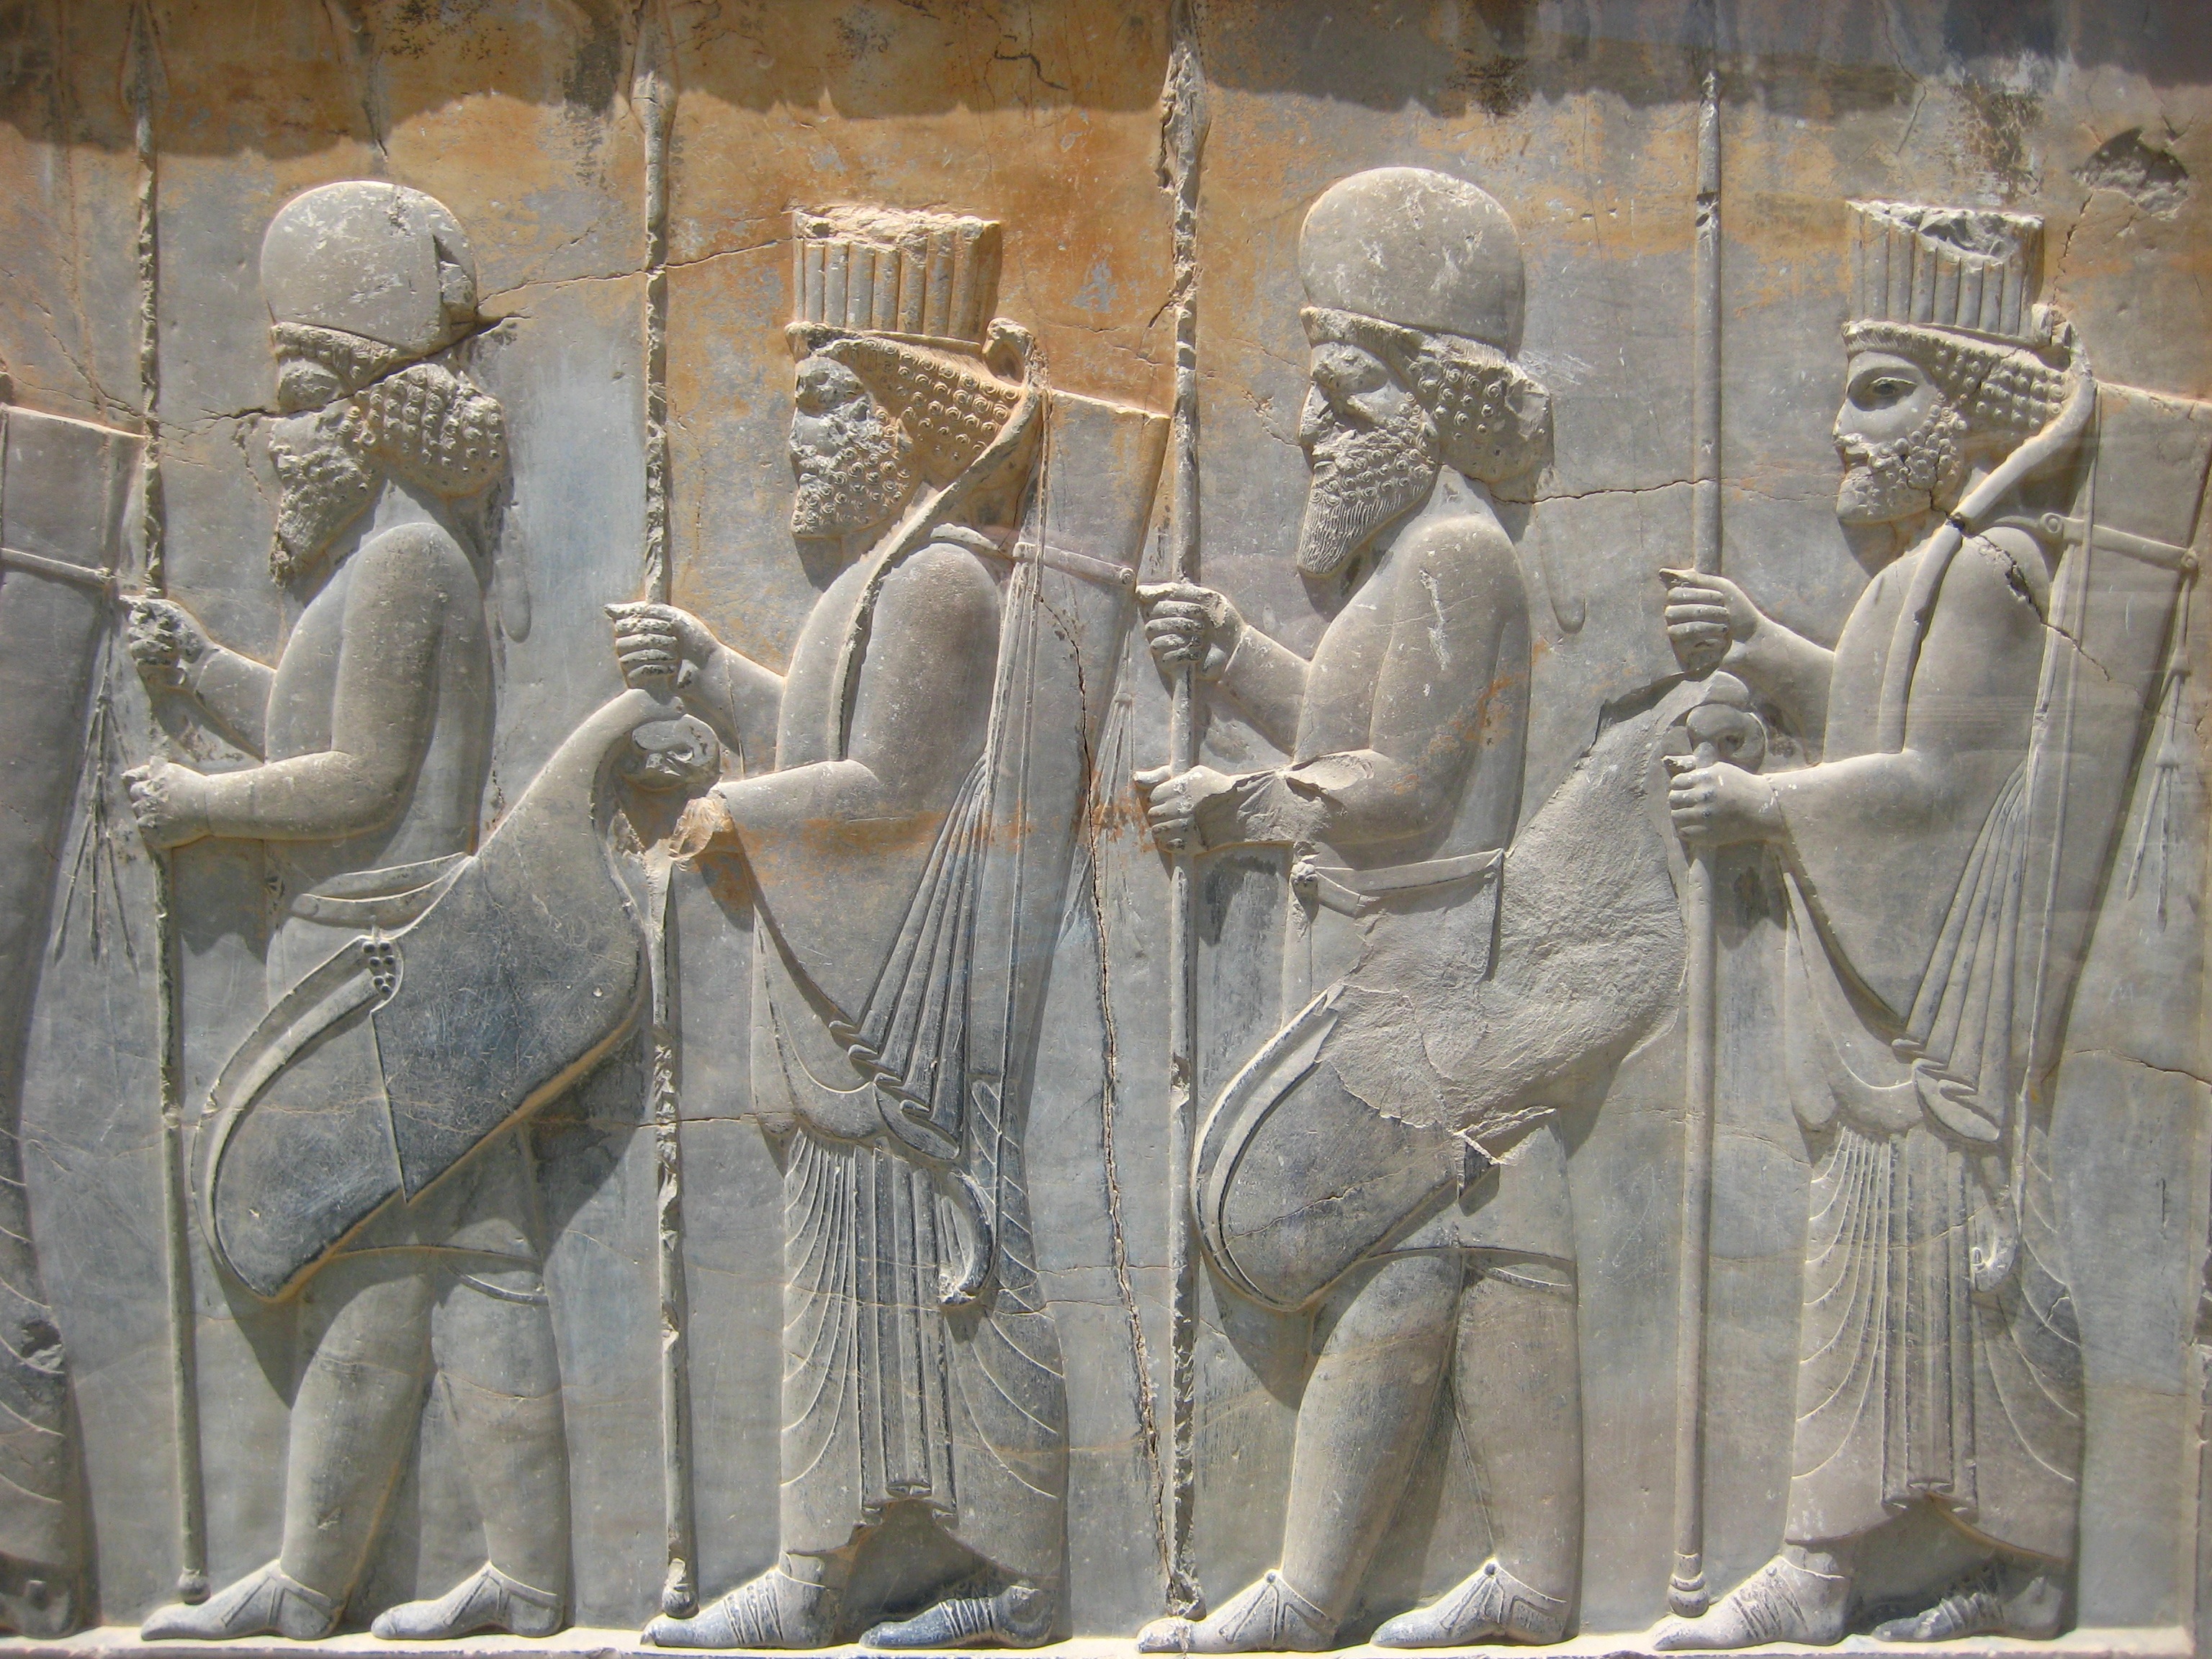
Unlike a molded veg-tan, oil-tanned leather will require a spine to keep the gorytos from sagging when the bow is drawn. Giannis Kadoglou pointed out to me that
the gorytoi seen at Persepolis probably don't have an "upper strip" of leather, but a tall, exposed wood spine. Similar ones are seen on the quivers from the temple of Aphaea statuary which included several archers in Asiatic dress.
However, I don't have access to a band saw at the moment, so I decided to use an internal spine made from a dowel. This has been less than optimal. My attempt at heat-bending it only went so far, and I wound up cutting the end into several pieces, sculpting them to fit and gluing and binding them to get a decent curve.
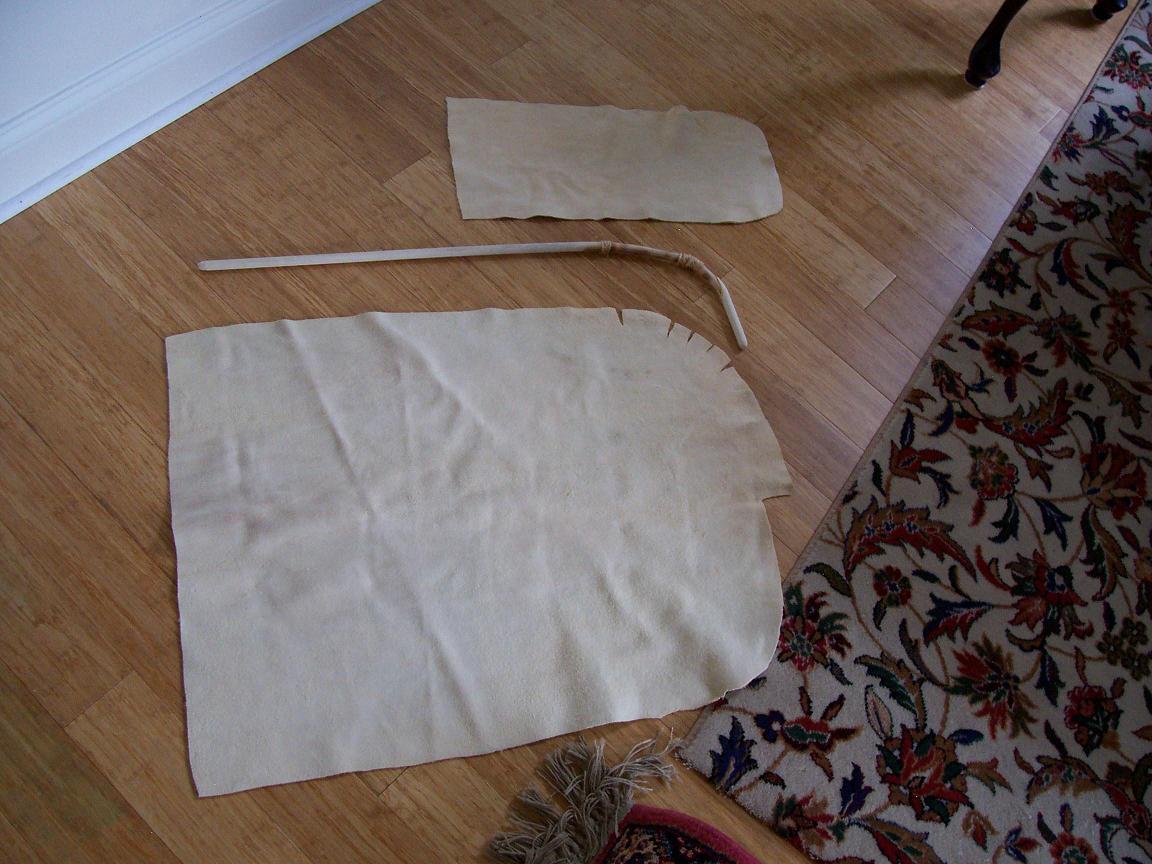
The leather is laid out and an outline of the bow and spine traced on with a pencil. There has to be plenty of extra edge in the front to wrap around the spine and stitch to the back upper edge, locking the spine into its own little tube of leather. I'm not sure I did well enough...
In any case, this is what the cut pieces look like before assembly. You are looking what will form the inside surface. I added one more bit to the curved end of the spine.
Flipping the main body over, the arrow pocket must be the first piece to be sewn. It as well needs lots of slack, to fit the big blunt rubber arrowheads used in reenactment combat. Since it's cut with extra room rather than stretched like a veg-tanned leather would be, this results in a highly puckered bottom edge. I haven't figured out how to avoid that.
Next up will be tackling the belt attachment.


No comments:
Post a Comment