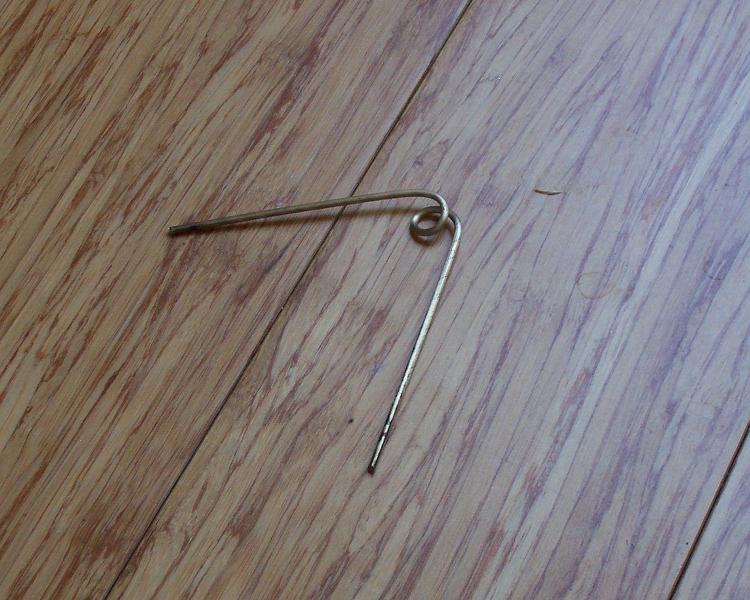
A side benefit of taking foundry at BCCC is being able to do a small personal project even in my first semester.
The positive is composed of Victory Brown sculpting wax in sheets pressed around the end of my wooden scabbard core, with additional lumps acting as filler. The whole is scraped and rubbed smooth; detail is then applied by rolling tiny pieces of wax and squashing them onto the surface.
Gating was indirect and complicated. I attached one vent to the inside of the front because I didn't want to mess up the design on the outside.
Dipping, firing and pouring proceeded smoothly. Divestment was a bit delicate, however, for obvious reasons.
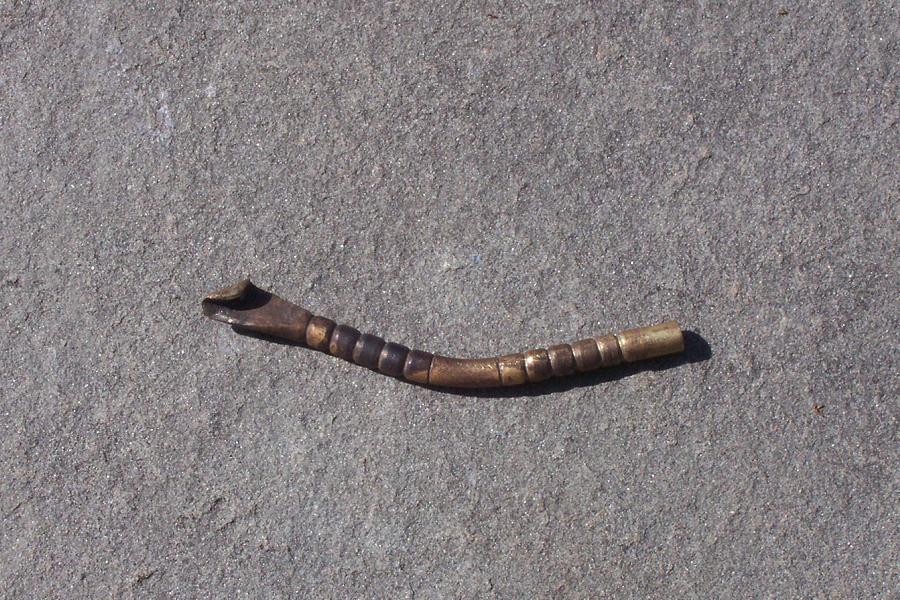
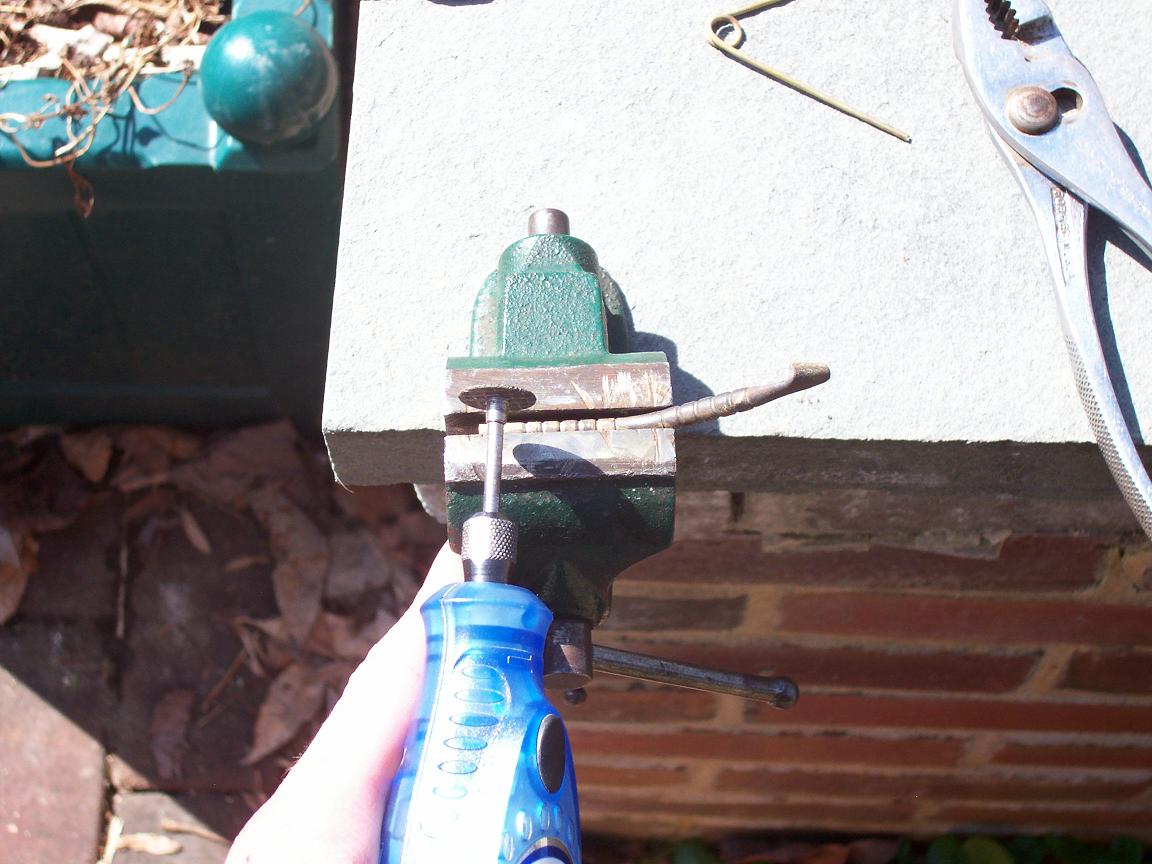
About eight pounds of bronze were poured to make a casting of less than two ounces. I had to tediously wear off all the stubs with carbide-edged die grinder attachments.
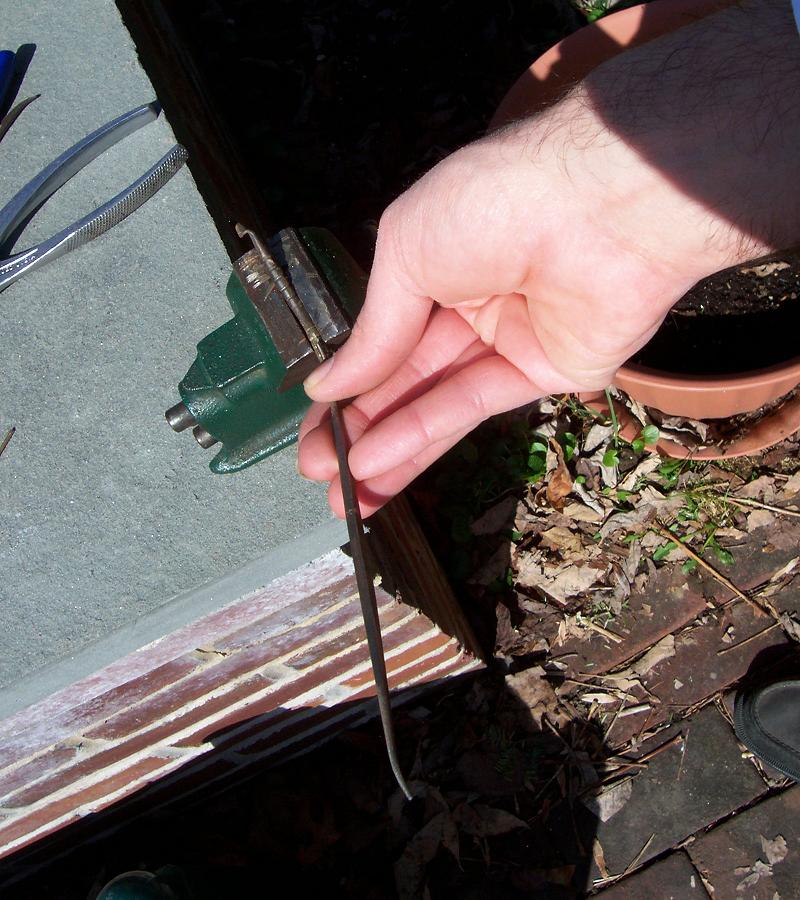
It was during the fitting process that I began to regret having put a gate on the inside. In the end I even sanded down the scabbard core a little in desperation - a loose fit will be necessary because the scabbard is to be covered in leather. Since these chapes are usually found with the holes at the top empty, I speculate that they were held in place with organic pins, probably wood.
Divesting had to be continued on the inside entirely through sandblasting so as not to deform the walls with hammer blows.
The finished chape, after sanding with 400- and 1500-grit paper and burnishing with a steel wire Dremel brush. I intend to create a permanent rubber mold from it before applying a finish of clear wax and attaching it to the scabbard.
A guide to the Achaemenid Persian empire for reenactors, focusing on the Graeco-Persian Wars period. A quick guide to Persian history, society, religion, military, clothing and culture, plus links to reenactment groups and commemorations of the 2,500th anniversary of the Graeco-Persian Wars.
Thursday, April 30, 2015
Friday, April 10, 2015
Tiara felting instructional at A Magyar Jurta
Thanks Giannis Kadoglou for this link.
Scythian-inspired Felt Hat
It should be useable with the Persian tiara pattern.
Monday, April 6, 2015
Fabricating an arm brooch
Marathon 2015 is set for seven days in late October and early November, and Jevon Garrett informs me that rain is possible.
It's easy to pick gear for summer weather, not so much for rain and cold. Among reenactors, it's popular to wear tightly-woven wool cloaks with natural lanolin. I've said in the past that "Persians didn't wear cloaks as we know them," but more recently I've come across statements indicating that arm fibulae have been found in Iran proper. This means that commoners may indeed have worn cloaks, as opposed to kandyes, which are believed to be status items.
These fibulae were almost certainly wax cast, but since I'm taking foundry for the first time this semester, I didn't want to test the professor's patience by asking to do too many personal projects. Luckily, I could picture a method of creating one by hand which, while not strictly accurate, should be passable.
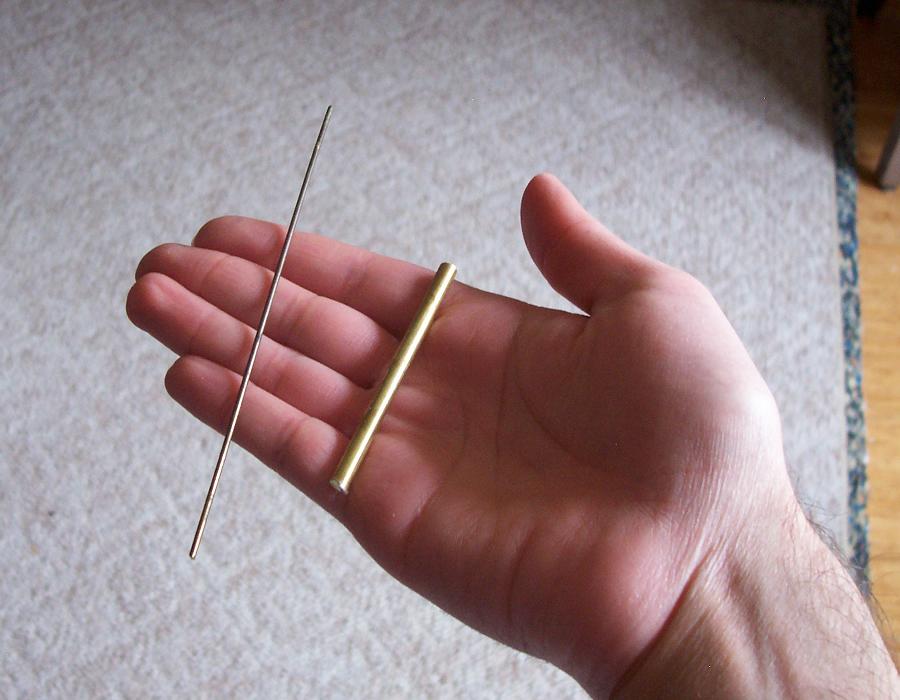
We start with two thicknesses of brass rod, 3/16 for the body and 1/16 for the pin. The body piece started at three inches and ended up two and a quarter inches.
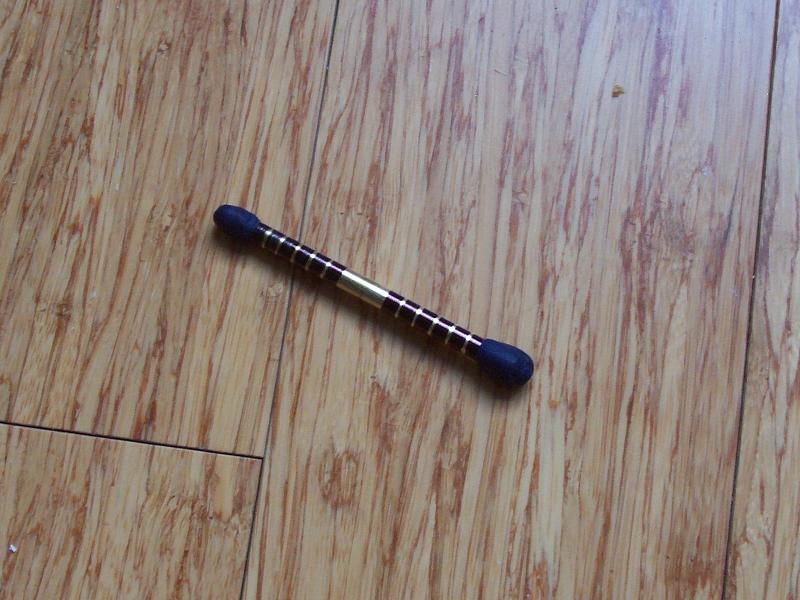
I don't trust myself to file the grooves straight to begin with, so instead I etched shallow channels to act as guides for the files. Above, the rode is masked with permanent marker and covered with wax at the tips.
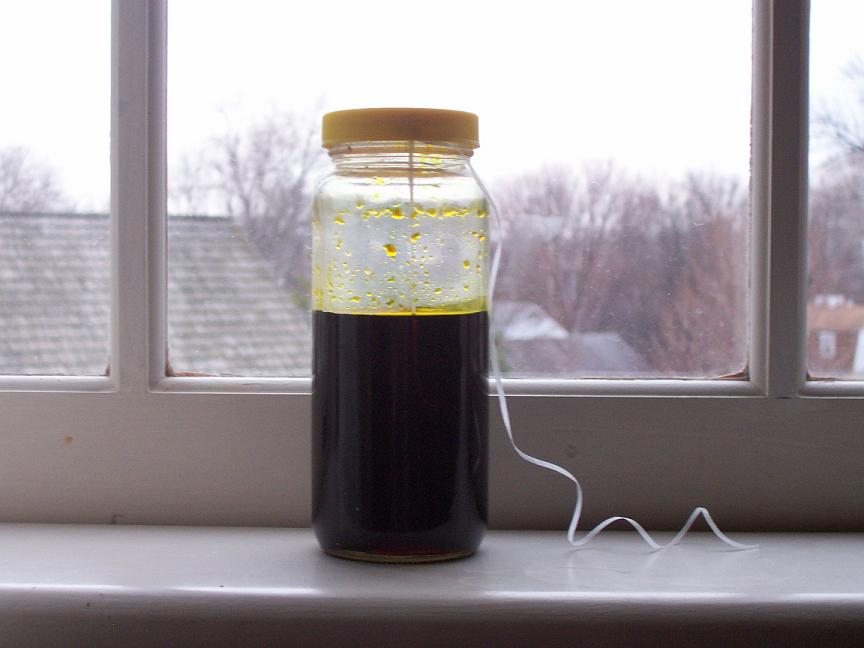
Some floss is lashed on with wax and the brass goes into a ferric chloride bath for about 40 minutes.
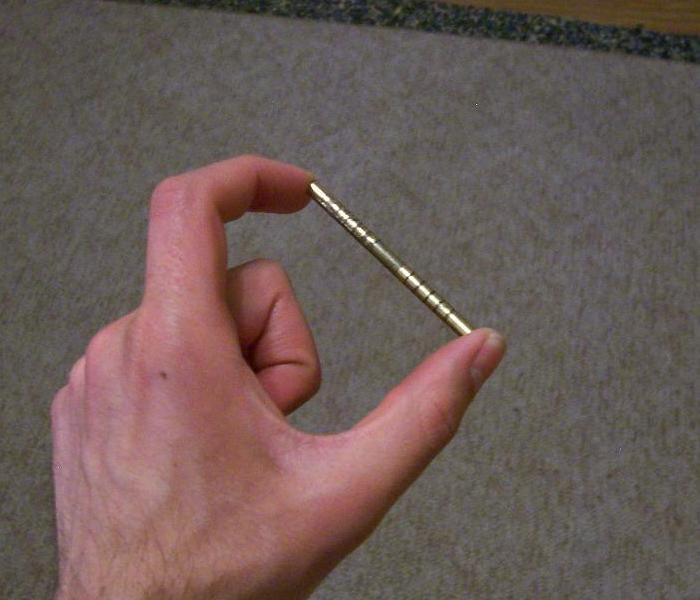
The string fell off, so I recovered the brass with rubber gloves and washed it in nail polish remover. Here's the initial etch.
A combination of fine files deepen and round out the grooves. I also ground the middle slightly thinner with the stone bit on the Dremel.
The brass rod is thin enough to be coiled by hand, but I didn't get it nice and even, and it hardened quickly. That can be fixed.
A little jury-rigged way of holding the pieces while they're annealed with a butane torch. Yes, the torch is on; it just doesn't burn brightly. Those rippling air currents do show up on the backdrop though.
After annealing, it was easy to correct the coil of the pin.
Repeated annealing and hammering and the catchplate begins to assume its shape.
On the originals, the pin was often iron (usually corroded away) and emerged from a hole in the middle of one end. I have no tool that would make drilling a hole in the middle feasible. Instead the pin is soldered into a groove in the side. This is also why it's brass instead of iron or steel. This step and the next one should actually be done with two hands.
When the groove is deep and wide enough to accept the pin, you can begin adjusting how the pin will fit into the catchplate. Enough of the catchplate needs to be folded over that a casual bump won't dislodge the pin. I plied, hammered and re-annealed it for an hour, and it's still shallower than it should be, but also more curled. This luckily gives it a bit of a snap without locking it into place irreversibly, but you can't count on that happening..
Widening the groove with a riffler. I also wound up filing the pin slightly for a better fit.
Once the fit was flush, I dipped the base of the pin into flux and got help holding the pin in the groove with pliers while I applied torch and solder.
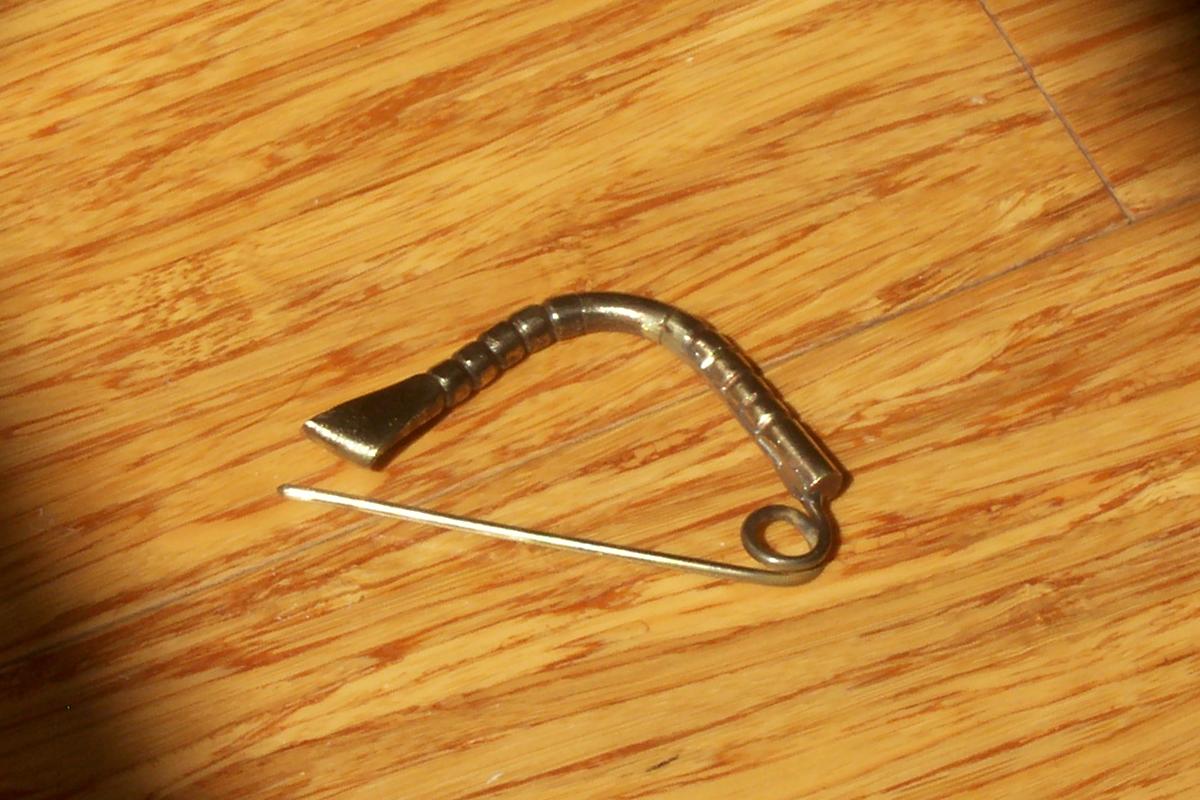
The finished product after burnishing. At this point one could continue filing or etching individual fingers, which I may do in the future.
Subscribe to:
Posts (Atom)

