Showing posts with label armour. Show all posts

Tuesday, March 7, 2023

Making a round pelta from a wicker charger

For Plataea 2022 I found myself without as many shields as I wanted to bring, so at the last minute I threw one of these together.  I don't know that this specific pattern is approved of by any formal reenacting group; it's difficult to document round peltai, although I am assured that they existed, and willow would be a more authentic material.  The difference in materials may affect the appearance:  This type of coiled weave is most commonly made of rattan because its growth pattern results in very long pieces of even thickness, whereas willow wicker is more often a  90-degree over and under weave, or has the warp sticks radiating outward from the middle.  Several pieces of admittedly vague period art suggest the over-and-under weave.  The advantage of using a premade round wicker charger is that it's a very quick and easy build.

My forearm measures 14 inches or 35.6cm with my fist closed, so the largest size that this style of platter was made in, around 16 inches/40.6cm, is just barely large enough to make a shield that gives a little bit of overhang.  If your forearms are any larger, this project may not be for you.

Materials:
-  16-inch rattan charger for the shield core
I got my first one from Pier 1 Imports several years ago; they no longer carry them, but similar ones can be obtained from other sellers or on eBay.  Make sure it is real rattan, since not only are some made from artificial rattan, but many sellers also use a shotgun approach to labeling and add "rattan" to listings for platters that are really made of straw, seagrass, corn husks or other flimsy materials, on the assumption that they're interchangeable for most uses and someone looking for one will be satisfied with another.  Additionally, some are made from a mixture of materials, such as rattan coiling held together with seagrass; this is, again, fine if you're just using it as a platter, but not so much for a shield.
-  Leather for the facing
The leather should be light- to midweight (about 2-5oz.); it should be soft but have minimal stretch.  Rawhide may or may not be the most authentic material (certainly I would prefer it over a planked base), but as a wrapped facing it's tricky to work with.  I'm instead using a smoke-colored bison split, which I originally ordered from Crazy Crow for my bowcase last year but which turned out to be on backorder and arrived later — I wouldn't have liked the lack of elasticity for that purpose, but here it seems preferable, as it'll remain more-or-less taut on the shield instead of sagging with time.  The piece you use should be at least 18-19 inches (45.7-48.3cm) in every direction and free of holes (or you can patch up any holes).
-  Material for the knuckle pad and grip wrap
I'm using German buckskin scraps for this purpose, but I imagine chamois in multiple layers or on top of felt, wool roving, etc. would also work.  Soft felt might also be sufficient all on its own.
-  Leather bands for the grips
Like the facing, these shouldn't be elastic; you don't want the grips to loosen with use (although I could conceive of various lacing systems to use if they do).  The current suede bands sold by Michael's are stiffer than they used to be and just barely adequate; luckily I have some leftover pieces of the older, more pliable kind.  You'll need upwards of two feet/61cm.
-  Stitching materials
You could probably get by with just a three- or five-ply linen cord, but I'm using several different materials of different thicknesses because I have them on hand and it seems to work better that way.  These include buttonweight linen thread for the grip wrap and knuckle pad, three- and five-ply cord for attaching the grips and pad to the shield core, and hemp twine for the facing.  The twine should be the soft type.  I happened to have some leftover from making my new bowcase which I'd already run over a block of beeswax, making it firmer and less prone to fraying.  I do the same with the fil au chinois thread, although it's supposed to be lightly waxed already.  Unpaid plug:  I very much prefer Crazy Crow linen cord over the kind sold at craft stores; it's much stronger, which is important in this project.
-  A heavy sewing needle, large sharp scissors, pliers, an awl, leather punch and pen; also a needle file and a pair of nail scissors.  The permanent marker shown here didn't wind up coming into play this time.

A flat shield with no boss cutout will always result in some part of your hand and possibly arm rubbing against the shield's back.  In tests I found that the long muscles on the back of the forearm provided a kind of padding on their own (it helps that I normally wear long sleeves), but for the wrist and knuckles, with their bones just below the skin, the chafing was very unpleasant.  Therefore a small pad of soft material is helpful.  If your skin is sensitive (and especially if you're wearing a short-sleeved or sleeveless tunic) or your forearm is on the bony side, then a longer strip of leather or even a long pad may be necessary.

Since the knuckle pad is attached first, you might as well make it first.  I made mine about 5 inches long and 3.5 inches wide across the middle (12.7x8.9cm), slightly tapering in width.  There are two outer layers and two smaller inner layers to fill it out, around a quarter inch smaller all around, i.e. half an inch (12.7mm) narrower and shorter.

Only the outer layers need to be stitched; either a running or whip stitch will work.  

The pad is stitched to the core by its four corners, with the wide end about an inch from the edge and the small end pointing toward the middle of the shield.  On the first corner I used five-ply linen cord, but this was difficult to get through the pad without enlarging the stitch holes.  Since the pad is never really subjected to stresses that could result in it being pulled loose, I switched to three-ply cord for the remaining corners.

Getting the needle between the canes without breaking the thin connecting strips is tricky and I frequently had to peer through it at a light bulb to figure out a clear path, poke a pin through to see where the needle should be coming out on the other side, then use pliers to yank the needle through.  This is also where the Crazy Crow linen cord shines, as a poorer-quality cord is more likely to fray and break when subjected to this stress (which happened repeatedly when I was making the one I took to Plataea).

The grip is about a 7.5-inch (19cm) suede band with a tube of German buckskin whipstitched around it.  I don't have any evidence about how these grips were made, but this design is much more comfortable than a flat leather band with nothing covering it.  The stitch holes are all punched ahead of time.

Then the thread spirals through the holes.

When it's time to double back, even if you can't find the exit hole with the needle, the German buckskin is soft enough that as long as you find approximately the right spot, you can punch through with the needle itself.

Finally, knot the thread, then run it over and under the stitches a couple times to keep it safely tucked away.

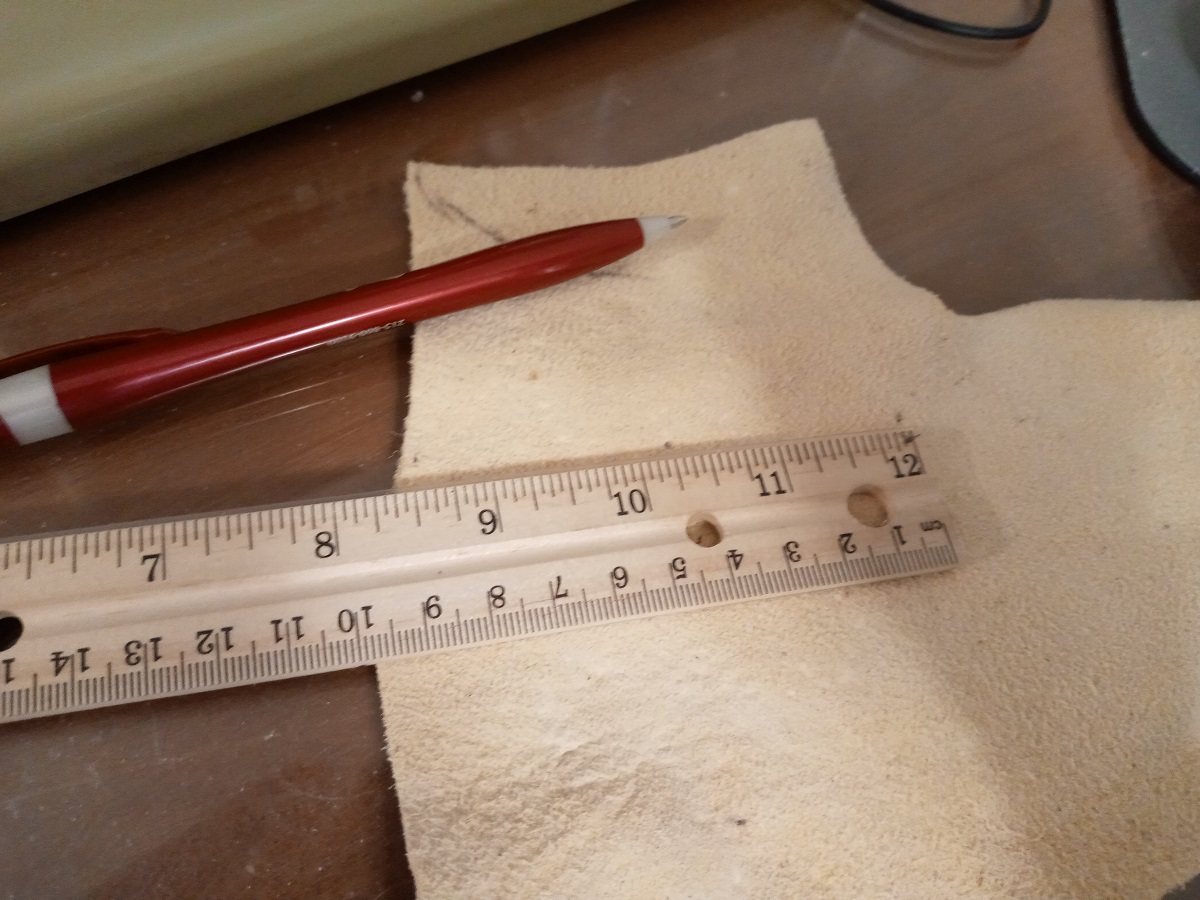
I had instructions prepared about how to find and mark where the bands should be stitched, but with this dark stained wicker, it would be barely if at all visible.  That's why the permanent marker you see in the materials layout is going by the wayside.  Instead, since the last shield's grip and arm bands fit me well, I just copied the layout from there.  For me this wound up with the inner ends of the bands being three inches from the middle and four inches apart, and the outer ends being six inches from the middle and four and a half inches apart.  If your arms are of different proportions, then of course you'll need a different fit.

Check the length of the grip.  It should hold your hand firmly against the knuckle pad (so it should be stitched right up against the edges, preventing your hand from sliding down onto the bare wicker) but not pinch your hand uncomfortably.

Because the bands, unlike the knuckle pad, are placed under stress that could bust the stitching, I'm used the full five-ply linen cord to attach them.  The holes all had to be enlarged with a needle file.  The smallest setting of the leather punch might also work.

Put the facing leather, "wrong" (flesh or stringy/unevenly-finished) side up, on a flat surface and put the shield core on it.

I initially planned on adding an inch and a half to wrap around.  I later revised this to one inch, but if you lace the facing on instead of stitching it, a wider margin may be preferable to ensure that the facing can never be peeled off without undoing or cutting the lacing first.

I chose to lace rather than stitch for expediency's sake because this leather is very tough and the wicker is very tight, but I suspect stitching may be more authentic, as peltai in art usually have a line just inside the edge suggesting either stitching or an added rim.  I also suspect stitching would keep the facing tighter against the shield.


The margin can be easily marked by first measuring and adding a series of dashes and then connecting them.

Next, mark segments along the circle separated by narrow triangles that point about an inch (2.5cm) toward the middle.  I'm antsy and decided to be formulaic about it, but the exact width of the segments and triangles isn't important.  In this case I wound up with 40 segments of mostly an inch on the outer edges (except the last couple, which were narrower), separated by triangles of about 3/8 inch wide and 5/8 inch long.  This leaves plenty of room for two holes in each tab.

The hemp twine is the thickest stitching material, so I punched small holes with the leather punch rather than the awl (which would require tediously enlarging them with a larger awl or the needle file).  The punch doesn't fully remove the plugs of leather; I pushed them out with the needle file and then cut off each one with the nail scissors.

Cut out the triangles.  You're now ready for the final step; this is the last chance to decide whether to stitch or lace.

Since I'm lacing, all that needs to be done is run the cord under the middle of each tab and on top of the edges.  This will help hold the corners down.

With the twine well-waxed, it can be tightened through multiple holes at once by just pulling on one end, which will cause the tabs to pull up and around the edge of the charger.

Pull the twine as tight as possible all around while smoothing the facing onto the back to make sure it's taut.  It won't be perfect, and will bag slightly when you hold the shield face-down, but do the best you can.

Begin to tie the twine while continuing to tighten it.  Knot the twine under the tabs for a tidy appearance.

Once everything is as tight as possible, knot the twine a few more times.

The knot's trailing ends can now be tucked under the tabs.

At this point the shield is technically finished.  You can paint it however you like or leave it plain.  On suede leather, oil paint (with perhaps a little beeswax to keep it from becoming brittle) adheres well enough, though it needs to be rubbed in.  It will take a long time to cure, however.  The one you see here was painted in the days before Plataea 2022 and required fast-drying acrylic to be ready on time.

The shield weighs next to nothing.  Together with its small size and thin grip, it leaves your left arm almost as free as if you weren't carrying one at all.  This does come at a cost, though:  A shield like this needs to be actively used to intercept and deflect.  I think it's safe to say that taking the full shock of repeated heavy blows will break it apart in no time.

Thursday, October 6, 2016

If you're on Facebook, The Eastern Trader has an album of original Scythian armor.  It includes both T&Y-influenced scale as well as "tank top"-style corslets, Kuban, scale and Chalcidian-type helmets, and iron and bronze akinakai, among other objects. Thanks to Jeroen Zuiderwijk for the link.

Monday, June 27, 2016

Pseudo-wicker shields from Pazyryk

The Pazyryk culture, dating from about the sixth to third centuries BC, is a subgroup of the Scytho-Siberian culture, and its royal kurgans found in the Altai have provided a rich source of artefacts from our time period preserved in permafrost, including rare textile and leather goods.

I recently came across a post by Sean Manning at Book and Sword on small Pazyryk-style shields, including several I'd never seen before.  Some of them are made from the familiar stick-and-hide construction, but one is a solid wood shield chiseled to resemble the others at first glance.  There's also good shots of the flat leather thong that apparently functioned as a grip.

Monday, May 9, 2016

Linen armor build thread by Todd Feinman

Should've posted this earlier.  Todd Feinman is currently working on an Egyptian linen corslet over at the Bronze Age Center.  Armors derived from this style may have been worn by Persians (Herodotus I.135) and of course by Egyptians in Achaemenid service; he also proposes that the weaving techniques may be applicable to tube-and-yoke corslets.

Friday, May 25, 2012

Shield yourself from this

Update 12/10/13:  This post contains information that is probably incorrect.  Please see here.

The Achaemenids knew of four or five styles of shields:  round or oval (possibly), violin-shaped, rectangular, crescent and the Greek Argive shield.  Of these, only the rectangular style is attested as having been used in the Graeco-Persian wars period.  In addition, some illustrations have been found of imperial troops (the Negro Alabastrons) and Persian hunters with cloaks draped over their left arms presumably as makeshift protection.

The only attested material for Persian shields is called by the Greeks gerrha ("wicker").  While to my knowledge no Achaemenid shields have been found, four shields dating to the Sassanid dynasty were found in the 1922-37 excavations at the Hellenstic (later Roman) city of Dura-Europos in Syria, and their construction could offer a model for that of earlier shields.  They were not technically wicker, but consist of wood dowels (sometimes incorrectly referred to as reeds) woven vertically through a single sheet of soaked rawhide.  The rawhide was folded over the ends of the sticks and sewn between them.  One or two horizontal sticks were attached to the back, preventing the shield from rolling up as the rawhide dried, and the grip appears to have been a wooden rod tied to the back.

These shields were unpainted.  The holes through which the sticks were threaded form chevrons down the shields' faces.  There is a Greek vase showing a Persian soldier with a rectangular shield bearing an elongated checker pattern which could have been produced the same way.

Round or oval
An enigmatic, slightly elongated shield appears in at least one scene in the reliefs at Persepolis (middle, second from top).  It's roughly the same size and shape as the violin.  Its face is smooth, showing no evidence of wickerwork, boss or rim (though the violin shields in the same scene also lack rims, which they have elsewhere).  If it's a representation of the Argive shield (and that's a big if), it would indicate that the Persians adopted this type far earlier than my research otherwise suggests.  I suppose it's even possible that they are violin shields to which the artists for some reason didn't add the cutouts or bosses, but that seems very unlikely to me.

Violin
This double-gripped style is known, as far as I know, almost entirely from Persepolis.  It had a rim (even around the cutouts, which were located halfway or slightly more than halfway down from the top of the shield) and had a round boss right in the middle with four round dimples or cutouts.  It's shown with a smooth face and inside, unlike the rectangular shield (also shown at Persepolis, with its stickwork construction clearly visible), so it may have been made of wood planks and/or had a facing and lining of metal, leather or fabric.  (In fact, a solid bronze shield facing of similar shape is or was held in the Axel Guttmann collection, although I can't find out much about it.)  A bronze boss from one was found on the island of Samos off the coast of Turkey (close, in fact, to Mount Mycale).  However, I've never seen it in battle art and never in Greek art of any kind.  This at least suggests that it wasn't very typical of Persian arms in the war.

I can think of several reasons for this disconnect.  The violin shield may have been relegated to parade wear, perhaps an artifact of a previous generation of soldiers, or it may have been inherited as an item of ceremony from an older culture, perhaps the Elamites. It may have still been in use, but not nearly common enough for the Greeks to think of it as "the" Persian shield.  Search as I might, I can't find anything to back up any of these speculations.

Some people call this style the Dipylon or Boeotian shield, after similar types seen in Greek art.  But I feel this is incorrect.  These are Greek types, with significant differences in details:  Persian shields had large bosses and cutouts that are almost full circles, while the Greek ones had no bosses and their cutouts were more semicircular.  One may be copied from the other via intermediaries or they may derive from the same prehistoric source, but they could just as likely be totally unrelated.

Rectangular
Being perhaps up to five feet high, the rectangular shield was a kind of pavise which could be propped up to stand on its own and (according to Herodotus) attached to others to form a wall.  Of course, against the press of a Greek phalanx, this structure couldn't stand up very long, but it likely served very well against showers of arrows, and would be useable in one-on-one spear combat.

From what I've seen, this type appears to be the most common Persian shield attested in Greek art.  There's at least one picture of one at Persepolis as well.  An RAT member once uploaded a photo of it, which has since been lost, but you can see a line drawing at Mark Drury's site.

This type of shield is usually referred to as a spara.  This word comes from a glossary of Hesychius of Alexandria, who roughly a millennium later defined sparabarai as gerrhophoroi ("wicker-bearers").  While -bara meant "bearer" (and comes from the same PIE root as -bearer and -phoros), the Middle Persian word spar and its Modern Persian derivative sipar mean "shield," so it's possible that *spara also simply meant a shield of any kind.  If, as I suspect, all types of Persian shields were what the Greeks would call wicker, then "wicker-bearer" doesn't indicate what type of shield a soldier bore.  I suppose the reverse might also be true: that *spara did refer to a particular type of shield, but by Middle Persian had become more generic.

Crescent
Showing up in Greek art late in the 5th century, the crescent shield resembled the Thracian pelte and some Scythian shields.  It could be single- or double-gripped and was somewhat smaller than an Argive shield (which is roughly two-and-a-half to three feet in width).

The Hoplite Association has reproduced crescent shields using 3mm (about eight-ounce) vegetable-tanned leather and wooden dowels; the edging is the same leather, laced on.  Andy Cropper used two grip systems:  one to be held in the hand and the other to be strapped to the arm, allowing archers to hold it while shooting.

In modern literature, this shield in Persian context is called a taka and its bearers takabara, but in fact we have no reason to think the ancients called them that.  The word takabara comes from the Persian phrase Yauna Takabara ("taka-bearing Ionians"), found at Persepolis and generally thought to be a reference to the Macedonians (Yauna or "Ionian" being the generic Persian word for Greeks).  Many researchers think that taka here refers to the petasos, or Greek sun hat, which was round and dished and shaped pretty much like a shield.  The phrase is translated into Akkadian as "who bear shields on their heads."  Nicholas Sekunda in Achaemenid Military Terminology states that taka means "hide," and should by extension be taken to mean a leather shield.  It is, however, difficult to be certain, and of course the petasos isn't crescent-shaped.

Argive
One of the main tools of the Greek hoplite, eminently suited for phalanx combat.  Putting aside the possibility that the round Perspolis shields are of this type, so far as I know Persians are only attested as using them in the 4th century, and then only rarely.  Since a great deal of literature on the construction and use of the Argive shield is available elsewhere, I shall refrain from going into it here.

Next up:  You'll need a few other things.

Tuesday, May 22, 2012

Armored bruiser

It's generally agreed that the Persian army wasn't very well-armored overall.  However, two types of body armor are known to have been used.

Scaly
The older type is a scale corslet of the same general sort used in West Asia for centuries.  According to archaeological finds, Persian scale was mostly iron and sometimes bronze.  Xenophon describes Persian cavalry wearing bronze thorakes, but doesn't explicitly describe them as scale.  A cavalry commander named Masistius is reported to have worn golden scale (presumably gilded iron, which would be protective but resist rust) under his tunic (Herodotus IX.22).  If wearing scale under the tunic was standard practice, perhaps to keep the sun off the metal, that could account for the lack of scale portrayed in period art, even among the presumably elite guards of the king in imperial reliefs.

If earlier Mesopotamian art is any indication, it's likely the Persian corslet had short or no sleeves.  Anyone looking to replicate one might look to the work done by Sean Manning.  It is a massive undertaking.

T&Y!
The Persians and Scythians also sometimes used Greek-style corslets.  The type has been widely known as the linothorax ("linen chest"), which is actually a term from Homer, though references to thorakes of linen exist in Classical literature.  In fact there is no clear evidence linking the style of corslet to linen construction, and a competing theory has emerged linking the style to the term spolas, indicating hide (probably leather) construction.

Some long (but worthwhile!) threads at RAT have examined the literary and artistic evidence, cost and protective qualities of quilted linen, glued linen and leather in the style.  One outcome of the discussions is that the style is increasingly referred to as a "tube-and-yoke" or T&Y corslet/cuirass, since the fact that it was made out of a tube around the body and yoke over the shoulders is the only thing that can be said for certain about it.

As for what it all means for us:  To be honest, I haven't done enough research on the experiments many reenactors have performed to recommend what the new XMFM member should use if you choose to wear a T&Y.  The tentative rule will be that you may use any material that could plausibly have existed in the period and demonstrably provides decent protective qualities.  (That is, if your corslet is no more going to save you from a spear thrust than a motorcycle jacket would, you need to go back to the drawing board.)  Keep in mind that the two options aren't mutually exclusive:  It's not impossible, given what we know, for some T&Ys to have been linen and others leather.

After the Graeco-Persian wars, the T&Y was sometimes reinforced with scale, usually around the midsection.

Upon the head
Xenophon states in the Anabasis and the Cyropaedia that the king's cavalry wore helmets, though Persians generally didn't.  A bronze helmet found at Olympia was inscribed with a claim that it had been captured from the "Medes" and is believed to be a trophy from Marathon; it's an old Near Eastern onion shape.

Others have ventured that Persians wore helmets of the Kuban type, more commonly associated with the Scythians; these are low-profile bronze caps, dipping low between the eyes and with a straight, rather high cut from the sides around the back, to which some sort of aventail may have been attached.  The low shape could conceivably allow it to be completely hidden under a tiara.

An interesting but under-publicized find is an iron helmet from Achaemenid Sardis.  Its segmented construction and large cheek guards bear a startling resemblance to those of spangenhelmen of centuries later.

Next time:  If I am not shield...