For Plataea 2022 I found myself without as many shields as I wanted to bring, so at the last minute I threw one of these together. I don't know that this specific pattern is approved of by any formal reenacting group; it's difficult to document round peltai, although I am assured that they existed, and willow would be a more authentic material. The difference in materials may affect the appearance: This type of coiled weave is most commonly made of rattan because its growth pattern results in very long pieces of even thickness, whereas willow wicker is more often a 90-degree over and under weave, or has the warp sticks radiating outward from the middle. Several pieces of admittedly vague period art suggest the over-and-under weave. The advantage of using a premade round wicker charger is that it's a very quick and easy build.
My forearm measures 14 inches or 35.6cm with my fist closed, so the largest size that this style of platter was made in, around 16 inches/40.6cm, is just barely large enough to make a shield that gives a little bit of overhang. If your forearms are any larger, this project may not be for you.
Materials:
- 16-inch rattan charger for the shield core
I got my first one from Pier 1 Imports several years ago; they no longer carry them, but similar ones can be obtained from other sellers or on eBay. Make sure it is real rattan, since not only are some made from artificial rattan, but many sellers also use a shotgun approach to labeling and add "rattan" to listings for platters that are really made of straw, seagrass, corn husks or other flimsy materials, on the assumption that they're interchangeable for most uses and someone looking for one will be satisfied with another. Additionally, some are made from a mixture of materials, such as rattan coiling held together with seagrass; this is, again, fine if you're just using it as a platter, but not so much for a shield.
- Leather for the facing
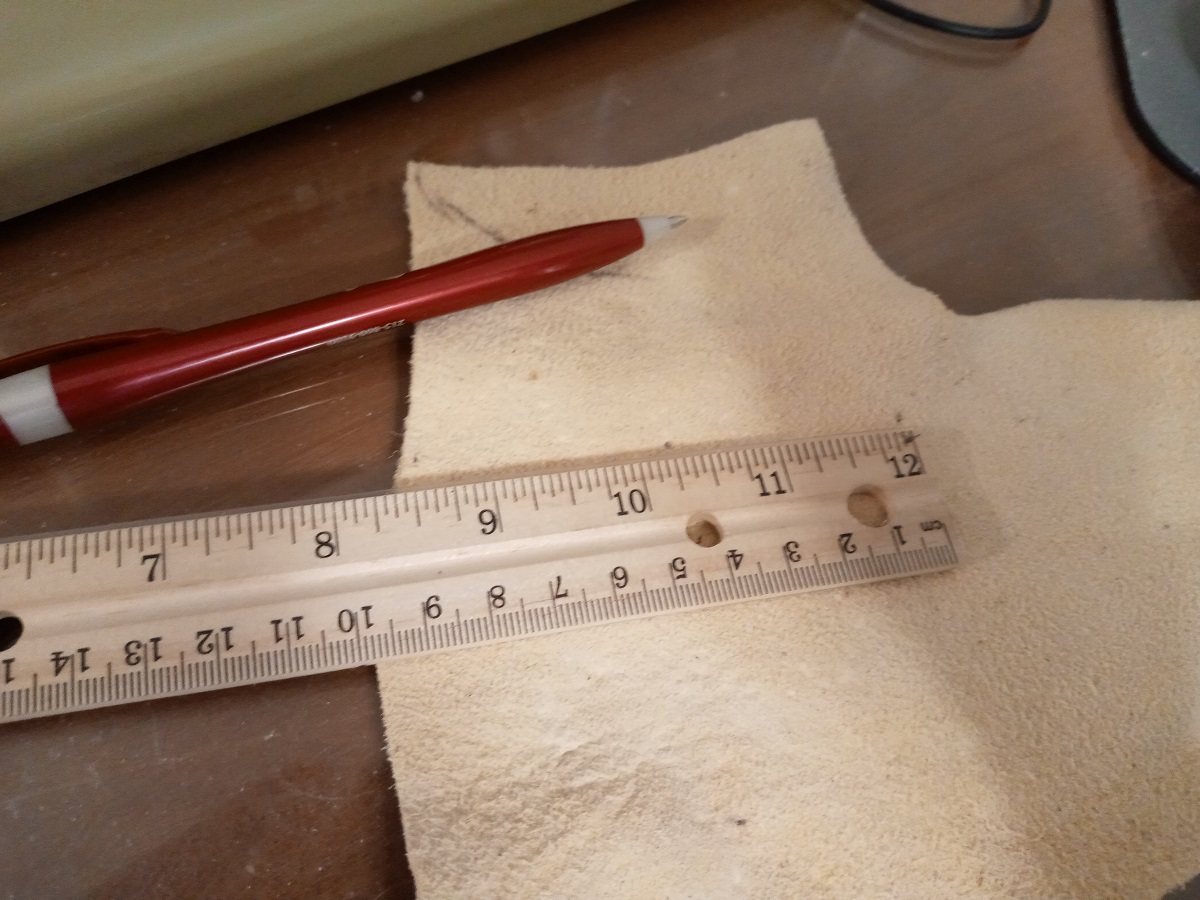
The leather should be light- to midweight (about 2-5oz.); it should be soft but have minimal stretch. Rawhide may or may not be the most authentic material (certainly I would prefer it over a planked base), but as a wrapped facing it's tricky to work with. I'm instead using a smoke-colored bison split, which I originally ordered from Crazy Crow for my bowcase last year but which turned out to be on backorder and arrived later — I wouldn't have liked the lack of elasticity for that purpose, but here it seems preferable, as it'll remain more-or-less taut on the shield instead of sagging with time. The piece you use should be at least 18-19 inches (45.7-48.3cm) in every direction and free of holes (or you can patch up any holes).
- Material for the knuckle pad and grip wrap
I'm using German buckskin scraps for this purpose, but I imagine chamois in multiple layers or on top of felt, wool roving, etc. would also work. Soft felt might also be sufficient all on its own.
- Leather bands for the grips
Like the facing, these shouldn't be elastic; you don't want the grips to loosen with use (although I could conceive of various lacing systems to use if they do). The current suede bands sold by Michael's are stiffer than they used to be and just barely adequate; luckily I have some leftover pieces of the older, more pliable kind. You'll need upwards of two feet/61cm.
- Stitching materials
You could probably get by with just a three- or five-ply linen cord, but I'm using several different materials of different thicknesses because I have them on hand and it seems to work better that way. These include buttonweight linen thread for the grip wrap and knuckle pad, three- and five-ply cord for attaching the grips and pad to the shield core, and hemp twine for the facing. The twine should be the soft type. I happened to have some leftover from making my new bowcase which I'd already run over a block of beeswax, making it firmer and less prone to fraying. I do the same with the fil au chinois thread, although it's supposed to be lightly waxed already. Unpaid plug: I very much prefer Crazy Crow linen cord over the kind sold at craft stores; it's much stronger, which is important in this project.
- A heavy sewing needle, large sharp scissors, pliers, an awl, leather punch and pen; also a needle file and a pair of nail scissors. The permanent marker shown here didn't wind up coming into play this time.
A flat shield with no boss cutout will always result in some part of your hand and possibly arm rubbing against the shield's back. In tests I found that the long muscles on the back of the forearm provided a kind of padding on their own (it helps that I normally wear long sleeves), but for the wrist and knuckles, with their bones just below the skin, the chafing was very unpleasant. Therefore a small pad of soft material is helpful. If your skin is sensitive (and especially if you're wearing a short-sleeved or sleeveless tunic) or your forearm is on the bony side, then a longer strip of leather or even a long pad may be necessary.
Since the knuckle pad is attached first, you might as well make it first. I made mine about 5 inches long and 3.5 inches wide across the middle (12.7x8.9cm), slightly tapering in width. There are two outer layers and two smaller inner layers to fill it out, around a quarter inch smaller all around, i.e. half an inch (12.7mm) narrower and shorter.
Only the outer layers need to be stitched; either a running or whip stitch will work.
The pad is stitched to the core by its four corners, with the wide end about an inch from the edge and the small end pointing toward the middle of the shield. On the first corner I used five-ply linen cord, but this was difficult to get through the pad without enlarging the stitch holes. Since the pad is never really subjected to stresses that could result in it being pulled loose, I switched to three-ply cord for the remaining corners.
Getting the needle between the canes without breaking the thin connecting strips is tricky and I frequently had to peer through it at a light bulb to figure out a clear path, poke a pin through to see where the needle should be coming out on the other side, then use pliers to yank the needle through. This is also where the Crazy Crow linen cord shines, as a poorer-quality cord is more likely to fray and break when subjected to this stress (which happened repeatedly when I was making the one I took to Plataea).
The grip is about a 7.5-inch (19cm) suede band with a tube of German buckskin whipstitched around it. I don't have any evidence about how these grips were made, but this design is much more comfortable than a flat leather band with nothing covering it. The stitch holes are all punched ahead of time.
Then the thread spirals through the holes.
When it's time to double back, even if you can't find the exit hole with the needle, the German buckskin is soft enough that as long as you find approximately the right spot, you can punch through with the needle itself.
Finally, knot the thread, then run it over and under the stitches a couple times to keep it safely tucked away.
I had instructions prepared about how to find and mark where the bands should be stitched, but with this dark stained wicker, it would be barely if at all visible. That's why the permanent marker you see in the materials layout is going by the wayside. Instead, since the last shield's grip and arm bands fit me well, I just copied the layout from there. For me this wound up with the inner ends of the bands being three inches from the middle and four inches apart, and the outer ends being six inches from the middle and four and a half inches apart. If your arms are of different proportions, then of course you'll need a different fit.
Check the length of the grip. It should hold your hand firmly against the knuckle pad (so it should be stitched right up against the edges, preventing your hand from sliding down onto the bare wicker) but not pinch your hand uncomfortably.
Because the bands, unlike the knuckle pad, are placed under stress that could bust the stitching, I'm used the full five-ply linen cord to attach them. The holes all had to be enlarged with a needle file. The smallest setting of the leather punch might also work.
Put the facing leather, "wrong" (flesh or stringy/unevenly-finished) side up, on a flat surface and put the shield core on it.
I initially planned on adding an inch and a half to wrap around. I later revised this to one inch, but if you lace the facing on instead of stitching it, a wider margin may be preferable to ensure that the facing can never be peeled off without undoing or cutting the lacing first.
I chose to lace rather than stitch for expediency's sake because this leather is very tough and the wicker is very tight, but I suspect stitching may be more authentic, as peltai in art usually have a line just inside the edge suggesting either stitching or an added rim. I also suspect stitching would keep the facing tighter against the shield.
The margin can be easily marked by first measuring and adding a series of dashes and then connecting them.
Next, mark segments along the circle separated by narrow triangles that point about an inch (2.5cm) toward the middle. I'm antsy and decided to be formulaic about it, but the exact width of the segments and triangles isn't important. In this case I wound up with 40 segments of mostly an inch on the outer edges (except the last couple, which were narrower), separated by triangles of about 3/8 inch wide and 5/8 inch long. This leaves plenty of room for two holes in each tab.
The hemp twine is the thickest stitching material, so I punched small holes with the leather punch rather than the awl (which would require tediously enlarging them with a larger awl or the needle file). The punch doesn't fully remove the plugs of leather; I pushed them out with the needle file and then cut off each one with the nail scissors.
Cut out the triangles. You're now ready for the final step; this is the last chance to decide whether to stitch or lace.
Since I'm lacing, all that needs to be done is run the cord under the middle of each tab and on top of the edges. This will help hold the corners down.
With the twine well-waxed, it can be tightened through multiple holes at once by just pulling on one end, which will cause the tabs to pull up and around the edge of the charger.
Pull the twine as tight as possible all around while smoothing the facing onto the back to make sure it's taut. It won't be perfect, and will bag slightly when you hold the shield face-down, but do the best you can.
Begin to tie the twine while continuing to tighten it. Knot the twine under the tabs for a tidy appearance.
Once everything is as tight as possible, knot the twine a few more times.
The knot's trailing ends can now be tucked under the tabs.
At this point the shield is technically finished. You can paint it however you like or leave it plain. On suede leather, oil paint (with perhaps a little beeswax to keep it from becoming brittle) adheres well enough, though it needs to be rubbed in. It will take a long time to cure, however. The one you see here was painted in the days before Plataea 2022 and required fast-drying acrylic to be ready on time.
The shield weighs next to nothing. Together with its small size and thin grip, it leaves your left arm almost as free as if you weren't carrying one at all. This does come at a cost, though: A shield like this needs to be actively used to intercept and deflect. I think it's safe to say that taking the full shock of repeated heavy blows will break it apart in no time.